Showing posts with label tutorial. Show all posts

Tuesday, October 21, 2014

a room for the boys: creating a shared space.

upstairs renovation: part two// shared boys room.

With the birth of their sister fast approaching, Kevin and I have been working on turning our 2 year old's bedroom into a room to share with his 16 month old (nearly) brother.  


This project has been all fun for me, other than moving everything out of the room for new carpet (see upstairs reno part one here) and anticipating the actual process of getting our now baby to sleep in a big boy bed and have both the boys adjust to sharing their sleeping space with someone else (a process we haven't actually tried to tackle yet, baby is a tricky sleeper). 

We knew that a room for 2 toddlers had to be sturdy, practical and tough so there is nothing fragile within reach of little fingers in this space. We also tried to leave as much open play space as possible and have easy access places for toys, blankets and clothes.

We (like most) are always trying to minimize costs as much as possible so much of what you see in this room is handmade, made-over or the cheapest (that is still very hardy) that money can buy.  It amazes me how much you can do yourself. 
Luckily we both love creating, in our own ways, so this would probably fit the bill even if we had a bigger budget. (links/sources at bottom of the post)
It also helps us to plan way ahead for two main reasons; 
First, we can build or buy over a period of time and budget accordingly.
Second, it gives us time to do lots of searching and research for the very best deals and options as well as allowing time to look for items or paint or whatever to go on sale.

I'm all about rooms growing with kids, so nothing in this room (or the nursery for that matter) is innately babyish. Along this same line we chose to have full twin size beds instead of toddler sized beds that would necessitate the purchase of bigger beds down the road.

I really hope that getting these boys used to sleeping in each other's space goes as smoothly as creating a space for them to share did...suggestions or success stories welcome. :)


dresser stain: home depot
bed frames: kevin
art work/quotes: me, kevin and lee
pom pom garland: me (tutorial here)
duvet covers: h&m (both sold out but this would be awesome for a little guy)
storage unit (between beds): ikea// besta tv unit
baskets in storage unit: home goods
legs: home depot
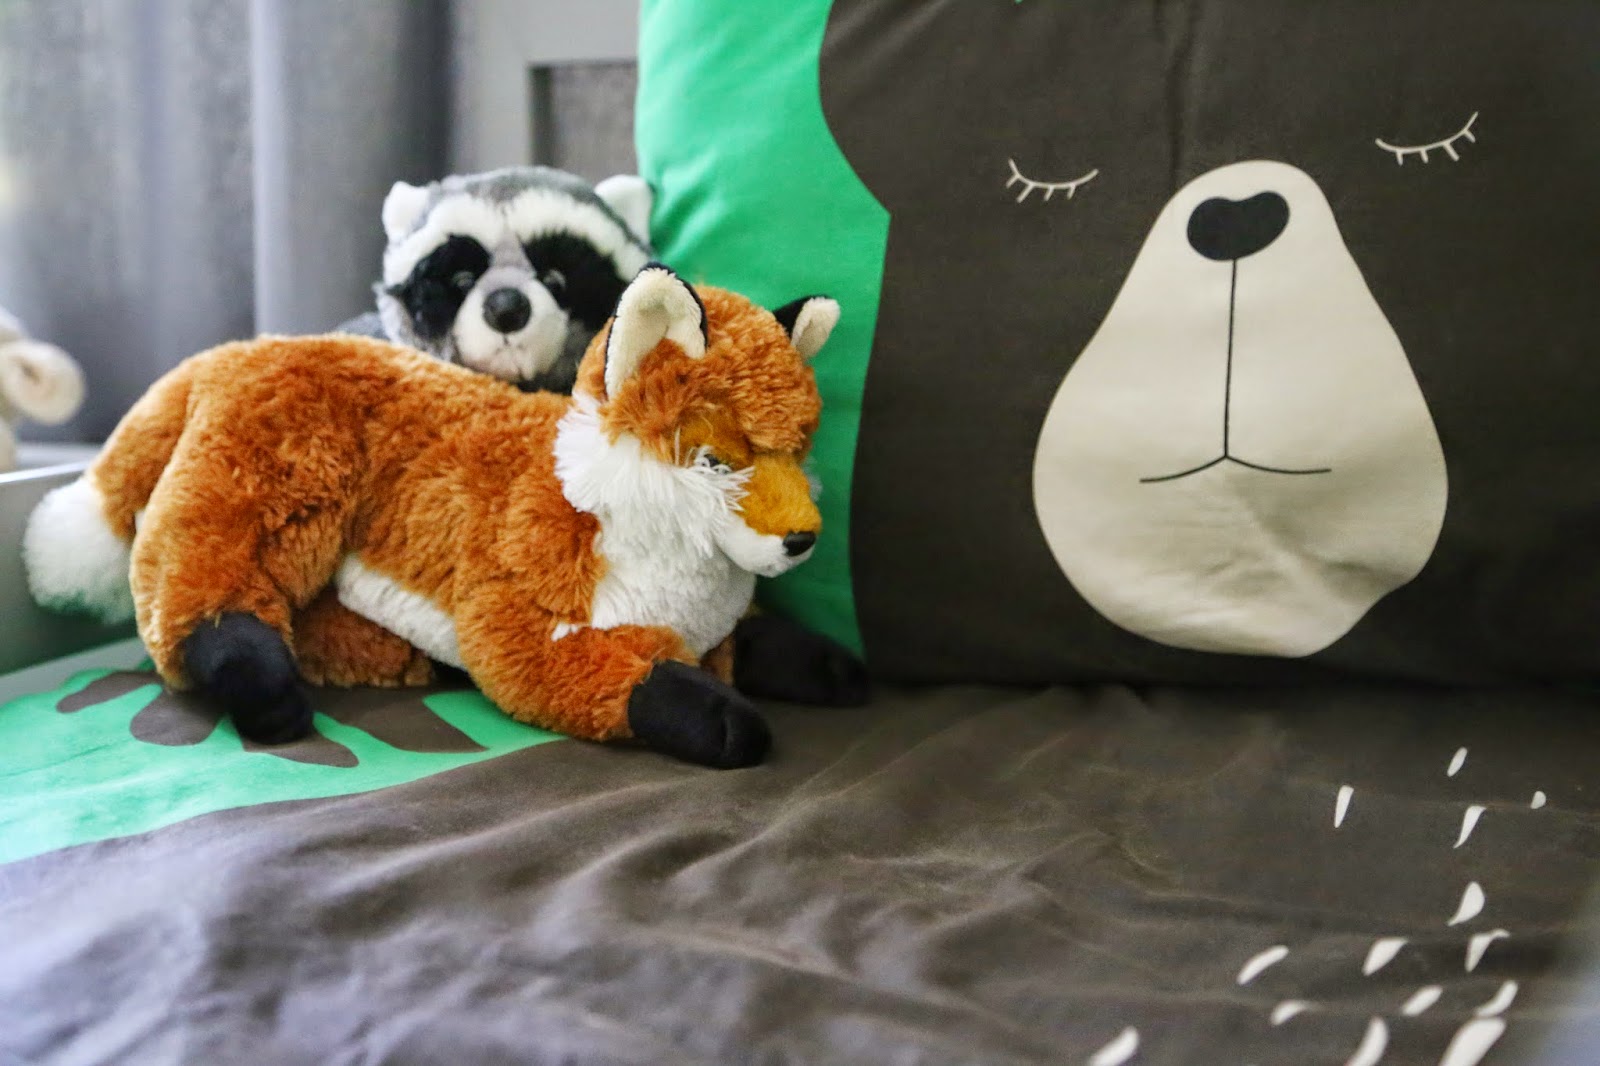
stuffed animals on beds: amazon
quilts: grandma :)
bike hooks: hobby lobby


Thursday, October 16, 2014

get ready for fuzz: yarn pom pom garland/ornament tutorial.

I have been cracking away at a rather long "to-do-before-the-baby-comes" list that includes everything from switching up the nursery to make it feel a bit feminine to deep cleaning the house to getting everything ready, bought and made for Christmas. A planner like me can't help but feel quite the drive to get as much as possible done and ready before baby comes.

One of the things on my list was adding a little color above the crib, somehow, someway.

After quite a bit of deliberation, I decided to make a yarn pom pom garland to go above the crib in the nursery for so many reasons, not least of which was the low cost. I had, of course, never made a yarn pom pom in my life. But no fear, my husband is a pro.  I completely forgot that his growing up years were not just totally packed with snowboarding but they were also filled with him making himself nearly enough beanies to wear a different one every day of the year. He graciously offered to teach me.  :)


nursery garland

boys' room garland


His is the easiest way I've seen so far to make said pom pom too so that's always a bonus in my book.(I'd looked up a few tutorials online before I was reminded of his forgotten talent.)

I ended up making several as ornaments to put on our Christmas tree as well but whether for a garland or an ornament you do basically the same thing with the exception of cutting or not cutting two strands of yarn...but we'll get to that.
my master teacher :)


You need:
yarn
cardboard
scissors
needle (I used a big quilting one because it's easy to thread yarn through)


1. Pick your yarn colors (duh) I found the best deal at good old Walmart, got the cheapest brand they had, etc... came to a bit less that $3 each color.
Make sure one of the pom pom colors is your desired color for the garland strand you string them on or get the color you want if it's different.

2. Pick your pom pom size, for the nursery I wanted small pom poms for the ornaments and for the boys room and the ornaments I wanted bigger pom poms.
(Lee insisted he have "balls" in his room too after I hung the ones in the nursery.)


3. Cut cardboard into a rectangle. The width of the cardboard will roughly be equal to the diameter of the pom pom.
For my big ones I did about 3" and the small ones I did a little shy of 2".


4. Start wrapping. :)
Be sure to pin down the first wrap with the subsequent ones.
Remember the more times you wrap the yarn around the cardboard the more dense the pom pom will be, I did anywhere from 75-90 wraps around for my small pom pom.  Spread the wrapping out just a little bit and try to have the thickness be the same everywhere. (Don't get middle heavy and have tons of wraps there and none on the edges.)
Also try and keep a consistent tightness, I kept mine pretty tight but remember you're going to be sliding it off eventually so don't go crazy.


5. Cut the end leaving a bit of yarn to work with.


6. Fold the cardboard a little bit to give you some space and wrap the excess yarn right around the center of the wraps on one side.


7. Slip the yarn off of the cardboard and wrap the rest of the excess around the entire center of the wraps. Make sure you keep the yarn on it's proper side. It's like tying a knot right in the middle of a stringy hot dog...or something...


8. Cut a generous piece of yarn. (this will be the hanger for an ornament so make sure it's plenty long)


9. Place the pom pom in the center of the yarn.


10. Tie a tight knot in the center of the pom pom, I pulled as tight as I could without breaking the yarn, and wrapped and tied it on the opposite side of the pom pom for good measure.


11. Now you are ready to cut, cut through all the loops being careful not to cut the knotted piece holding the pom pom together. I cut one side and fluffed it out and then did the other. I recommend getting a big bowl to do all the trimming over to keep the mess more contained.
*This is the part that makes you feel like you will be covered in fuzz for the rest of your life and that you'll never stop having that sweater in your throat sensation....


12. Now you will have a lopsided, crazy looking pouf that only slightly resembles a ball shape. Trim the ends until you have the desired roundness and size.
NOTE: if you are making ornaments make sure to keep the ends of the "knot piece" out of the scissors path if not cut them off with the rest. Just knot them and they are ready to hang.

*The more length you trim off the more dense the ball will be. So there is actually room for some size variance even if your cardboard piece was big to start with.  Keep previously made pom poms near by in the trimming process to make sure you're keeping them roughly the same size if you want them to be uniform.


For a garland: thread your needle with whatever color you chose and simply poke it through the center of each pom pom, the yarn on yarn actually sticks in a way that you can push them around (closer together or further apart) and they will stay put once you stop pushing.  It's fantastic.